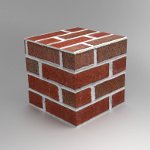
 Blender 2.64 has released on October 2012, one of the great thing to know is cube projection mapping now is back in Cyles Render Engine. Cube projection mapping (also called as box projection mapping) is a simple image texturing method which is very useful for architectural rendering.
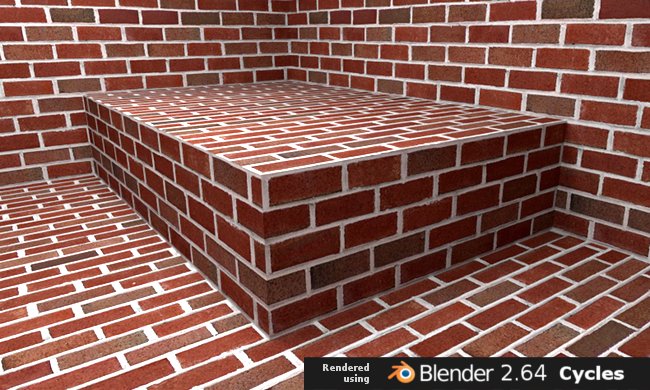 Cube projection mapping was temporary disabled on the development of Cycles Render Engine. It is basically a result of 3 flat projection maps, that’s why I wrote the tutorial showing how to cube projection map using flat projection method. With the released of Blender 2.64, now we can achieve the same result easier using box projection method.
Step 1
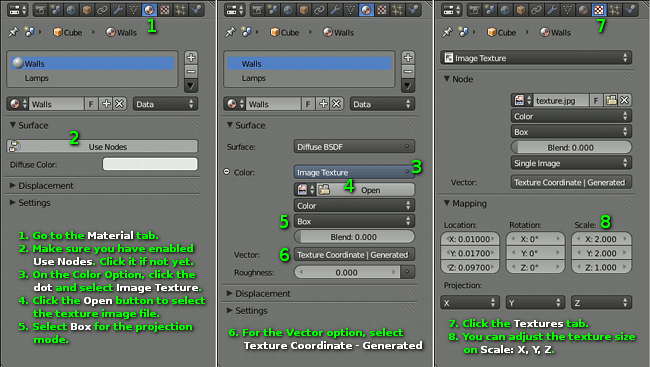
Select the object you want to map the material and click the “Material” tab.
Step 2
Make sure it’s already enabled to use nodes. On the “Surface” section if you can see the “Use Nodes” button – it means it’s not enabled to use nodes – then click it. Normally you don’t need to do it and you even can’t see the button.
In some cases, for example opening Blender files saved using older versions of Blender you may need to click the “Use Nodes” button.
Step 3
On the “Color” option click the dot and choose “Image Texture“.
Step 4
After choosing the “Image Texture“, you will see the “Open” button. Click it and select your texture image file.
Step 5
The default projection mode is “Flat“. Click it and change it to “Box“.
Step 6
On the “Vector” option, select “Texture Coordinate | Generated“.
Step 7
Click the “Textures” tab.
Step 8
On the “Mapping” section you will see the “Scale” values for X, Y and Z axis. You may need to adjust these values to achieve the sizes you want.