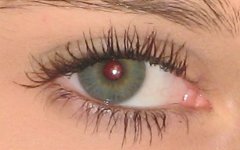
Red eye effect in photography is the common appearance of red pupils of eyes that occurs when using a photographic flash. The color actually is the color of blood vessels nourishing the eye. Any bright light source may also cause this effect but only when it is positioned nearly coincidentally with the observer. This however is very difficult.
Many photo retouching software can let you easily remove red eye effect using their simply click, select and process tool. But unfortunately they don’t always do a good job, you usually can get a better result if you do it manually. This step-by-step tutorial will show you how to fix red eye problem using GIMP.
Step 1
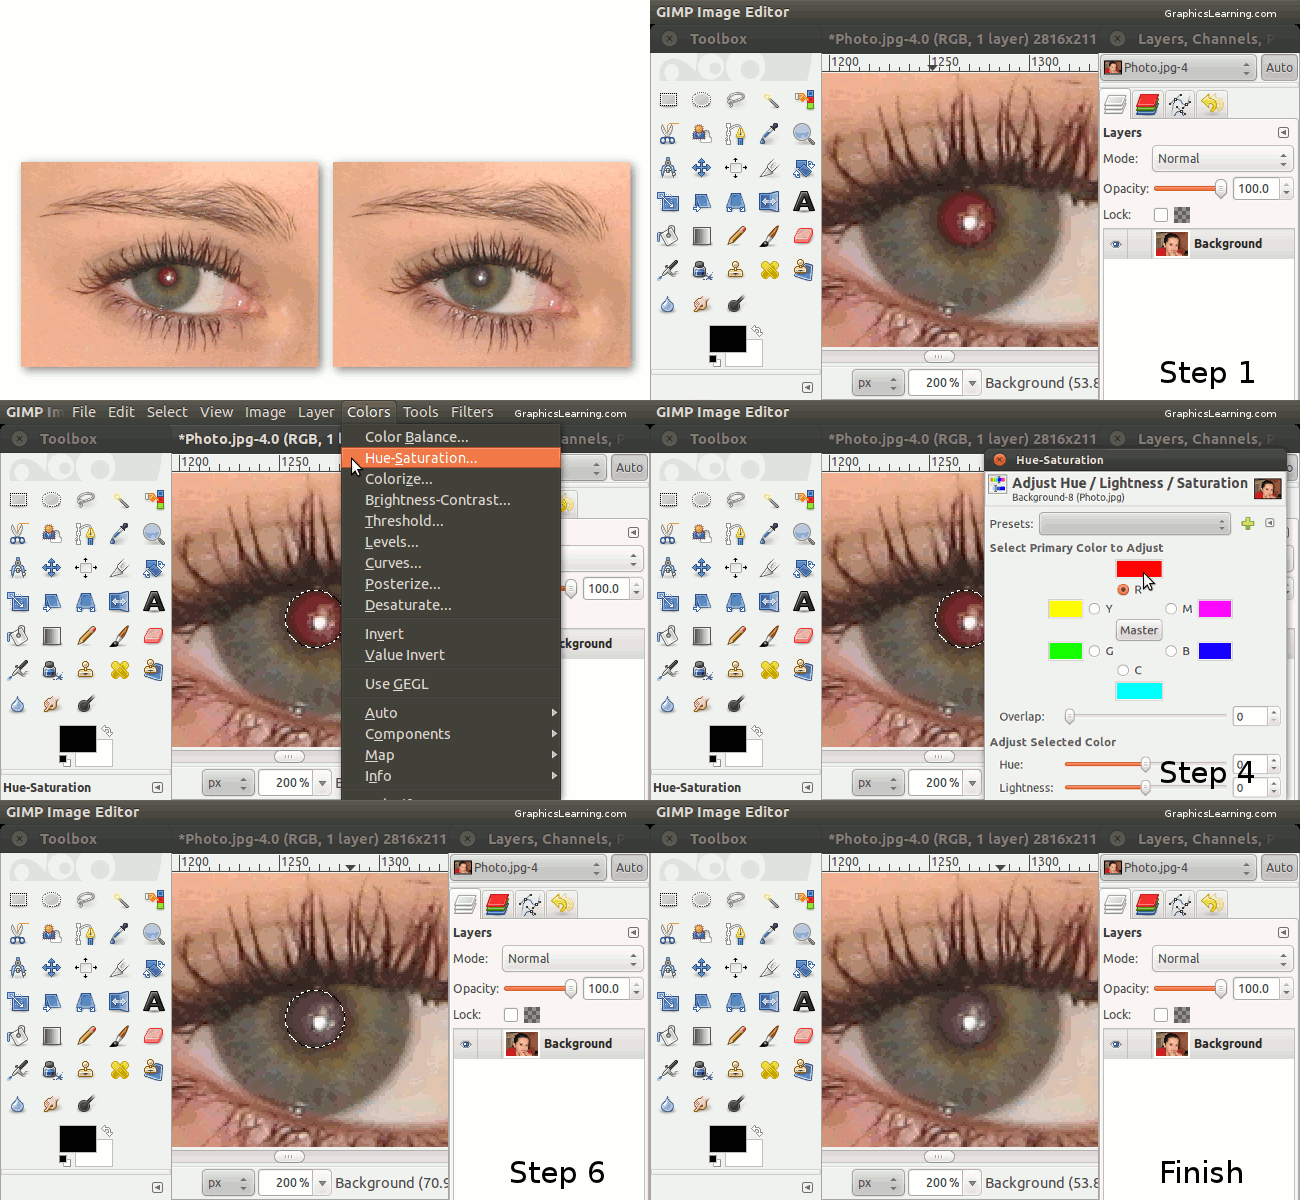
Start the GIMP and open the photo, here I’m using GIMP 2.6.11. You may need to zoom the image for better view. Use Ctrl+Scroll_Up (or Plus key) to zoom in and Ctrl+Scroll_Down (or Minus key) to zoom out.
Step 2
Use Ellipse Select Tool (E key) to select the red eye area of the eye.
Step 3
Click the “Main Menu” > “Colors” > “Hue-Saturation…”
Step 4
Select red color for the “Primary Color to Adjust”
Step 5
Decrease the saturation level. For better result, don’t use the lowest value (-100).
Step 6
It’s almost done. Press Shift+Ctrl+A to Select None.
Step 7 (Finish)
The red eye problem has been fixed.


September 29, 2011 yay! This is so exciting. I already downloaded the free 30 day trial of photoshop and just ran out of my free 30 days. I discovered you on twitter and I’m glad I did. I never heard of GIMP. I am downloading it as I type! Thanks for sharing this with us Lisha recently posted..